
Every year on the Classic Inca Trail and Salkantay Trek, our guides encounter two distinct groups of hikers.
The first group includes gym enthusiasts who bench press heavy weights and run fast 5K sprints on flat pavement, yet find themselves weeping in agony on Day 2—their quads spasming, knees inflamed, and lungs gasping for oxygen at Dead Woman's Pass.
The second group includes everyday recreational walkers in their 40s, 50s, and 60s who stroll steadily past them with calm smiles, rhythmically clicking their trekking poles and reaching camp with energy to spare.
The difference is not youth or natural talent. It is specific biomechanical conditioning.
Hiking in the high Andes tests your body in ways that typical gym routines never touch: thousands of irregular, hand-carved stone steps, hours of eccentric quadriceps loading, and prolonged aerobic work in thin air.
Here is the comprehensive, 12-week periodized conditioning plan designed by our mountain guides to prepare your body for the trek of a lifetime.
The Biomechanics: Why Uphill Lungs & Downhill Knees Fail
To train effectively, you must understand the two distinct physiological challenges of Andean trekking:
1. Uphill Is an Aerobic & Glute Challenge
Ascending to Dead Woman's Pass (4,215 m / 13,828 ft) on the Inca Trail or Salkantay Pass (4,630 m / 15,190 ft) requires hours of continuous vertical propulsion. Because atmospheric oxygen pressure is 40% lower than at sea level, your body cannot rely on anaerobic energy. You need a massive aerobic base (Zone 2 mitochondrial efficiency) and powerful glutes to drive you upward without spiking your heart rate into exhaustion.
2. Downhill Is an Eccentric Joint Destruction Zone
This is where 80% of trail injuries occur. From the summit of Dead Woman's Pass, you must descend over 3,000 steep, irregular granite stone steps into the Pacaymayo Valley, dropping 600 vertical meters in less than two hours.
With every downward step, your quadriceps must perform an eccentric contraction—braking your body weight plus your backpack against gravity while the muscle fibers are lengthening. If your quads fatigue, the braking force transfers directly into your patellofemoral tendons and meniscus cartilage, producing excruciating knee pain.
The 12-Week Periodized Conditioning Framework
This program requires 4 training sessions per week: two days of cardio base training, one day of strength/stair conditioning, and one weekend outdoor hike.
The 12-Week Progression Timeline:
- Weeks 1–4 (Foundation): Zone 2 aerobic cardio base & glute activation.
- Weeks 5–8 (Overload): StairMaster climbs & eccentric quadriceps strengthening.
- Weeks 9–11 (Specificity): Weighted pack rucks (5–7 kg) and boot break-in.
- Week 12 (Taper): 60% volume reduction, mobility work, and travel readiness.
Phase 1 (Weeks 1–4): Aerobic Base & Glute Activation
The goal of Phase 1 is building capillary density and strengthening the posterior chain (glutes, hamstrings, and calves) to prevent lower-back strain.
Cardio (2x per week)
- 45 to 60 minutes of Zone 2 Cardio: Incline walking on a treadmill (8–12% grade at 3.0–3.5 mph), stationary cycling, or rowing. Maintain a conversational pace where you can speak complete sentences without gasping.
Strength Circuit (2x per week - 3 sets of 12-15 reps)
- Goblet Squats: With a dumbbell or kettlebell (8–16 kg), focusing on slow, deep control.
- Reverse Lunges: Stepping backward to protect the knee joint while activating the gluteus maximus.
- Step-Ups: Using a 12 to 16-inch sturdy bench, driving through the heel of the elevated foot without jumping off the trailing foot.
- Standing Calf Raises: Slow 3-second descent on a stair edge to strengthen the Achilles tendon.
- Side-Planks & Bird-Dogs: 3 sets of 45-second holds to build deep core and pelvis stability.
Phase 2 (Weeks 5–8): StairMasters & Eccentric Knee Loading
In Phase 2, we deliberately train the quadriceps to withstand high eccentric braking loads and mimic endless Inca staircases.
StairMaster / Stadium Bleacher Work (1x per week)
- The 45-Minute Continuous Climb: Set a revolving StairMaster to a steady, sustainable pace (45–60 steps per minute). Do not lean your body weight on the handrails; keep your chest upright and drive through your heels. Aim to accumulate 60 to 90 continuous floors.
Eccentric Strength Exercises (2x per week)
- Poliquin Step-Downs: Stand on a 6-inch platform. Slowly lower your heel to touch the floor over a strict 3 to 4-second count, keeping the supporting knee aligned over your toes. 3 sets of 12 reps per leg. This directly bulletproofs the patellar tendon.
- Bulgarian Split Squats: Rear foot elevated on a bench, dropping the back knee toward the floor under control. 3 sets of 10 reps per leg.
- Romanian Deadlifts (RDLs): With dumbbells, hinging at the hips with a flat back to stretch and strengthen the hamstrings.
- Wall Sits: 3 sets of 60-second holds at a 90-degree angle with a weighted plate on your lap.
Phase 3 (Weeks 9–12): Weighted Pack Rucks & Boot Break-In
The final phase introduces movement specificity: carrying actual weight on uneven trails wearing your expedition boots.
The Weekend Ruck (1x per week)
- Week 9: 2-hour outdoor trail hike carrying 3 kg (6.6 lbs) in your daypack.
- Week 10: 3 to 4-hour hilly trail hike carrying 5 kg (11 lbs).
- Week 11: 5-hour challenging trail hike carrying 6 to 7 kg (15 lbs) with significant elevation gain and descent.
- Wear your actual trail gear: Break in your hiking boots, test your Merino wool hiking socks, and calibrate your backpack hip belt. If a hot spot or blister develops, address it now with blister tape before you reach Peru.
Week 12: The Taper & Travel Week
- Cut workout volume by 60%. No heavy lifting or exhausting long hikes.
- Focus on dynamic mobility, foam rolling your quads and IT bands, and sleeping 8 hours per night. Arrive in Peru feeling fresh, rested, and injury-free.
Trekking Pole Biomechanics: Saving 25% of Knee Impact
Using trekking poles is not a sign of weakness; it is an essential biomechanical multiplier.
Orthopedic studies in mountain medicine demonstrate that properly used dual trekking poles:
- Reduce compressive joint stress on knees and hips by 20% to 25% per step.
- Transfer thousands of foot-pounds of braking force from your legs into your upper back, shoulders, and triceps during long descents.
- Prevent dangerous ankle twists on slick, rain-soaked granite stones.
Guide Tip on Technique: When climbing uphill, shorten your poles so your elbows form a 90-degree angle. When descending steep stone stairs, lengthen the poles by 5 to 10 cm and plant both tips ahead of your descent foot to catch your momentum before your heel lands.
The Altitude Mask Myth: What Actually Prepares Your Lungs
Many gym-goers purchase rubber training masks that cover the mouth and nose, claiming to simulate high altitude.
This is a marketing gimmick.
These masks restrict air volume (inspiratory resistance), making it harder to pull air through a valve. But they do not change ambient barometric pressure or the partial pressure of oxygen. Real altitude involves breathing normal air volume that contains fewer oxygen molecules per breath.
The only real physiological preparation you can do at sea level is:
- Building massive aerobic capacity (Zone 2): More mitochondria and capillaries in your leg muscles mean your cells extract oxygen more efficiently when air is thin.
- Iron & Ferritin Checks: Check your blood ferritin levels with your doctor 8 weeks prior. Your body needs iron to synthesize new red blood cells during acclimatization.
- Pacing Discipline: Learning to hike in the mountains with a rhythmic, measured cadence—what Quechua guides call the Paso de Chasqui (never sprinting, never stopping, just continuous forward progress).
Frequently Asked Questions (FAQ)
Can I do the Inca Trail if I am overweight or in my 50s/60s?
Yes, absolutely. We routinely guide travelers in their 50s, 60s, and 70s across the pass. What matters is not your body fat percentage, but your consistency with stair conditioning, walking endurance, and pacing discipline.
How much weight will I carry on the trail?
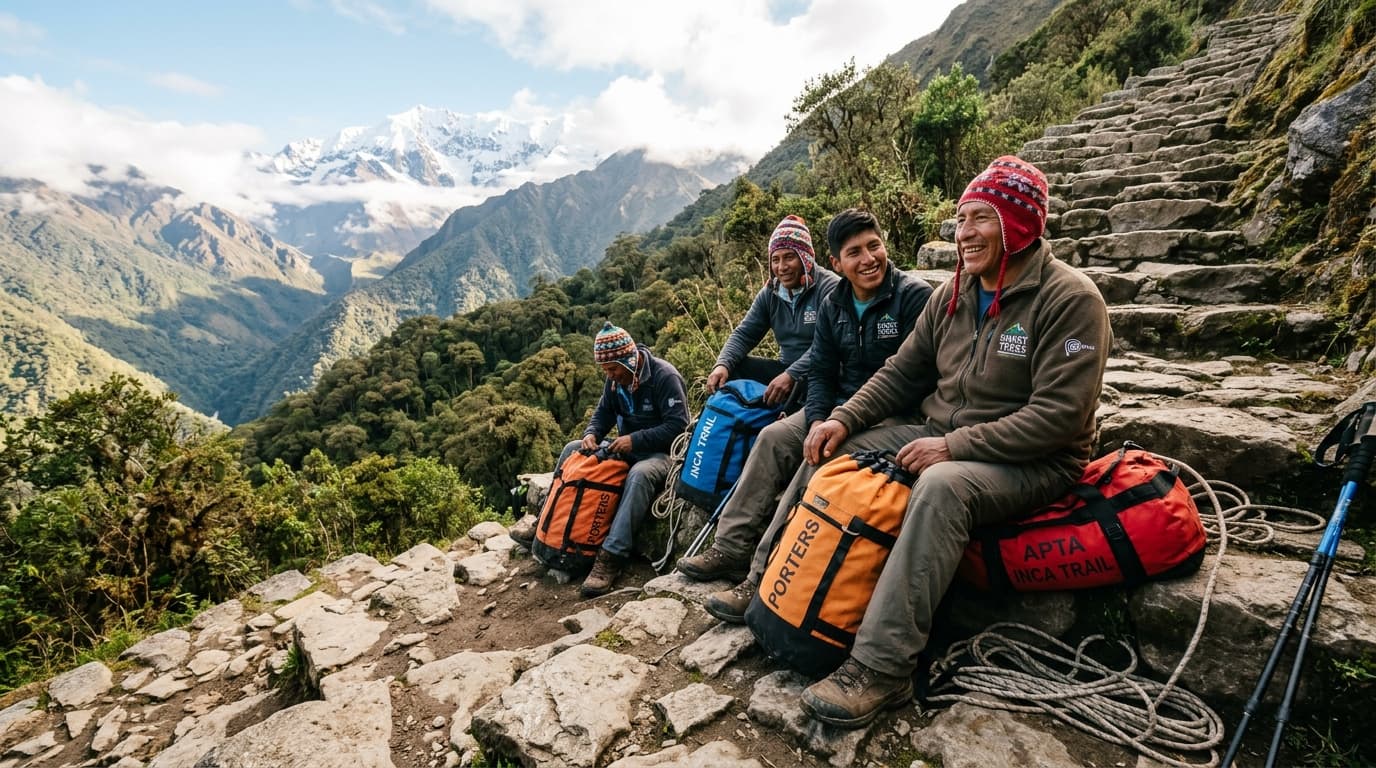
On guided treks with Daspe Travel, our licensed porters carry your heavy duffel bag (sleeping bag, extra clothes, toiletries—up to 6 kg). You only carry a light daypack containing your water, rain jacket, warm fleece, sunscreen, camera, and snacks (typically 4 to 6 kg / 9 to 13 lbs).
What shoes should I buy for training?
Purchase mid-cut waterproof hiking boots with Vibram or Contagrip lugged rubber soles. Mid-cut boots provide crucial lateral ankle support on uneven Inca flagstones.
Local Team Advice: Rodrigo's Trail Fitness Verdict
As our Official Mountain Guide Rodrigo notes:
"The trail will challenge you, but if you put in the stair climbs and eccentric quad work before you board your flight, you will not spend your days staring at your boots in misery. You will look up, breathe the clean Andean wind, and watch the clouds part over the Lost City of the Incas with tears of pure joy."